How to Use MacBook Notch Panels Without Clutter
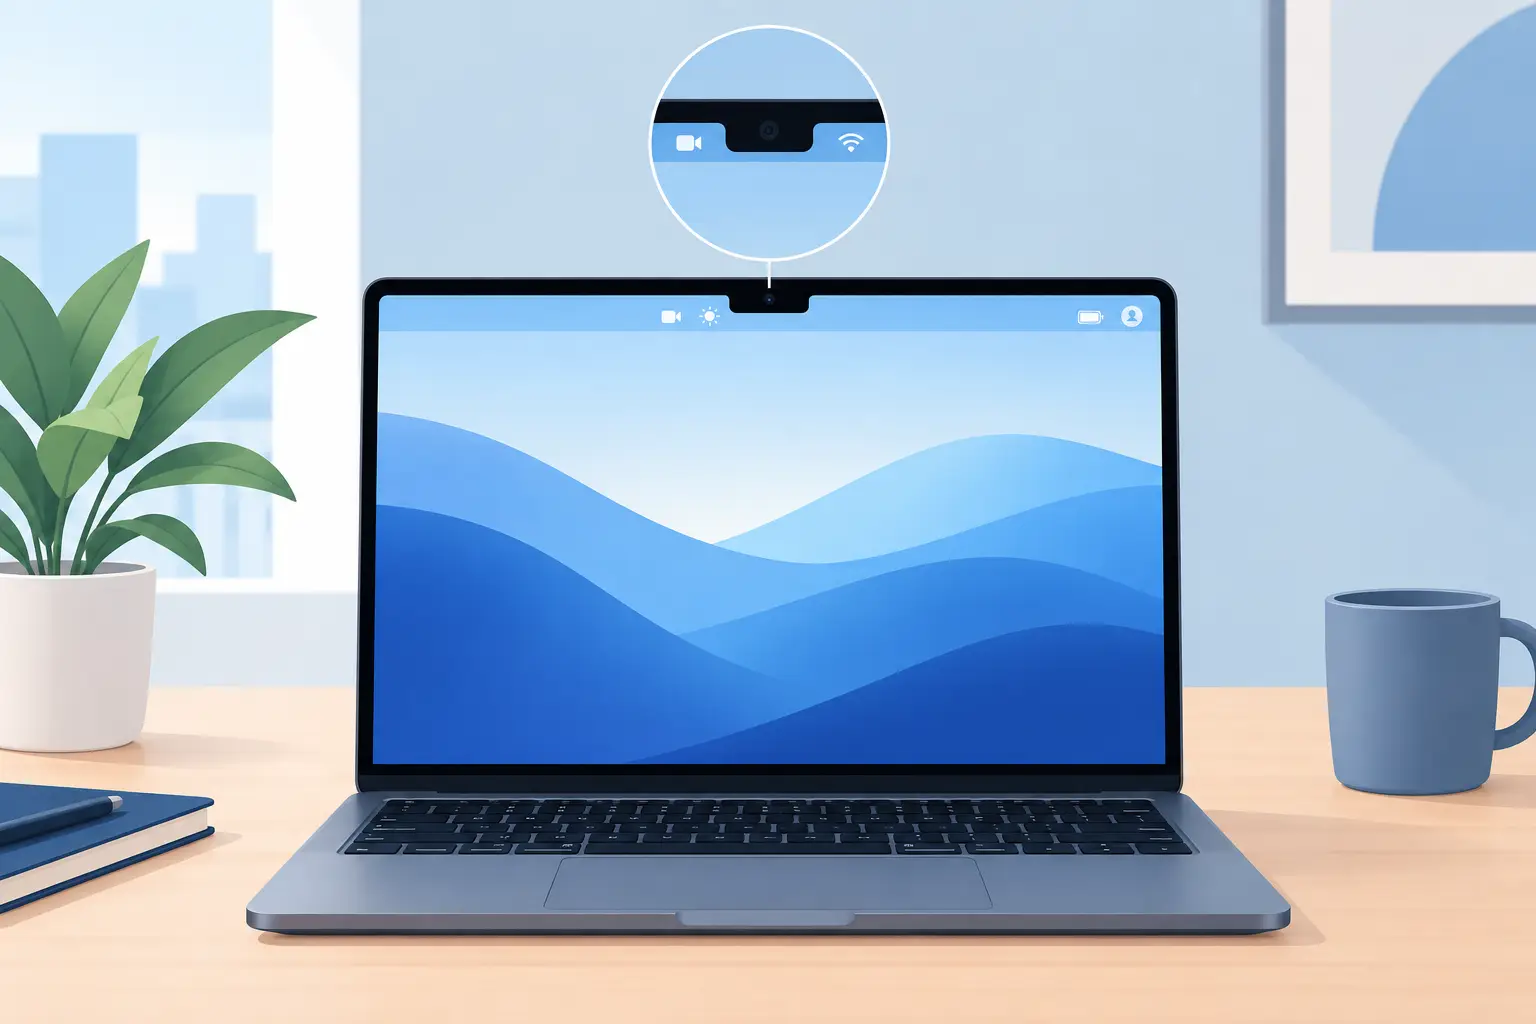
Your MacBook notch is already in the center of your screen. The useful question is whether it can hold the information you check repeatedly without becoming another crowded menu bar. Learning how to use MacBook notch panels is less about adding every possible tool and more about putting the right few within a quick swipe.
A notch panel works best as a short-distance workspace: the next event, an active timer, a copied item you need again, a file you are moving between projects, or a quick system check. It should reduce context switching, not create a second dashboard to manage.
What MacBook notch panels are for
macOS does not turn the notch into anything on its own; a utility such as uNotch adds a panel with swipeable pages around the camera housing. Rather than opening separate apps or hunting through menu-bar icons, you move between focused views from one consistent place.
That distinction matters. A notch panel is not meant to replace a full calendar, file manager, or system monitor. It is the place for the next action: confirm when your meeting starts, start a 25-minute focus block, retrieve a copied link, or see whether a large export is putting pressure on your Mac.
The strongest setups follow one rule: keep full applications for deep work and use the notch for quick checks and small actions. If a page needs sustained attention, it probably belongs elsewhere.
Start with the moments that interrupt your work
Before turning on pages, notice what pulls you out of the task in front of you. Most people do not need more information. They need fewer detours.
For a writer or student, the repeat interruptions may be checking the time, reviewing the next calendar event, and retrieving several recently copied citations. A designer moving assets between folders may care more about a file shelf, clipboard history, and a timer. A developer running builds may want system readouts nearby, but only while diagnosing a slowdown.
Choose pages around those moments. A narrow panel with a calendar, timer, clipboard, and files page can be more useful than a broad configuration filled with information you rarely act on. You can always add a page later when a real need appears.
Put time-sensitive information first
Calendar and timer pages usually earn their place because they change what you do next. A calendar view can prevent missed calls without requiring a full calendar window. A timer gives focused work a visible boundary without adding another app to your dock.
Set timers with a purpose rather than leaving one running all day. Use one for a writing sprint, a meeting buffer, a break, or a task you tend to overwork. When the timer has a clear job, it becomes a cue. When it is just another number on screen, it fades into background noise.
If your day is meeting-heavy, make the calendar page easy to reach. If you work in long uninterrupted blocks, give the timer priority and check the calendar only at transition points. The right order depends on your work, not on what looks impressive in a screenshot.
Treat the clipboard as temporary working memory
Clipboard history is especially helpful when you are assembling research, reusing snippets, moving links, or transferring values between documents. Instead of repeatedly switching back to find the last thing you copied, you can pull it from the notch panel and continue.
There is a practical limit. Clipboard history can become a junk drawer when every copied fragment is treated as worth preserving. Use it for active material: links for the article you are drafting, product copy under review, commands you are testing, or asset names you are organizing. Clear out or avoid retaining material that no longer serves the current job, especially when it is sensitive.
Keep active files close, not your whole file system
A files page is most useful as a handoff area. Put the folders and documents you are actively moving between in view, then use Finder for the rest. This avoids the familiar cycle of minimizing windows, reopening the same location, and losing your place.
For example, a client project might have a brief, an asset folder, and an export destination. A student might keep the current paper, source material, and submission folder nearby. The point is not to recreate Finder in the notch. It is to shorten the route to the files that matter this hour.
How to use MacBook notch panels without slowing down
A good notch panel should feel available, not demanding. Configure its gesture or activation behavior so it is quick to reach but does not open every time your pointer passes near the top of the display. Accidental activation is a small annoyance that becomes a daily one.
Then arrange pages by frequency. Put the page you use several times a day ahead of pages you use only when something goes wrong. Calendar, timer, clipboard, and files often belong near the front. System readouts may be better later in the sequence unless you are actively watching performance.
Keep the page sequence stable for at least a week. Constant rearranging makes a shortcut less automatic. Once your hands learn where the timer or clipboard sits, the panel starts doing its job: removing tiny decisions from repetitive work.
There is also a case for changing the setup temporarily. During a launch week, you might keep system readouts and timers near the front. During research, files and clipboard history may take over. A panel should adapt to the work in progress, but not so often that it becomes its own project.
Use system readouts as signals, not entertainment
System readouts, such as battery status, processor load, or network activity, carry useful signals. They are helpful when a Mac feels slow, a video call is unstable, or a process is consuming more power than expected.
They are less helpful when checked compulsively. A normal fluctuation is not a problem to solve. If you glance at system data between tasks and see no issue, move on. If a pattern persists - battery drain during a specific workflow, sustained memory pressure, or unusual network activity - use the signal to investigate with the appropriate macOS tools.
This is the trade-off with any persistent status view: visibility can help you respond sooner, but it can also invite unnecessary attention. Keep readouts when they change decisions. Hide them when they merely create more things to monitor.
Make privacy choices deliberately
For privacy-conscious Mac users, convenience should not require an account or behavioral tracking. uNotch does not require an account, and it processes data on the device by default.
Weather requires uNotch Premium. When you search for a city, the text you type is sent to Apple's MapKit for suggestions; selecting a place also asks MapKit for its coordinates. uNotch uses those coordinates to request a forecast from Apple's WeatherKit when either the Weather page is visible or the menu-bar weather readout is enabled. The readout works independently of the page, so removing the Weather page alone does not stop forecast requests. To prevent new forecast requests, turn off both the Weather page and the menu-bar weather readout, or clear the selected city. If you do not want search text sent to MapKit, avoid the city search.
The same principle applies to what you place in clipboard history, file shortcuts, and calendar views. A notch panel is close at hand, which is exactly why it deserves intentional configuration on a shared Mac or when handling confidential work.
A focused setup beats a feature tour
Start small. Use the pages that solve a current problem, keep their order predictable, and remove anything that does not save time after a few days. A calendar page should help you arrive prepared. A timer should protect attention. Clipboard and files pages should cut down window switching. System readouts should help diagnose a real condition.
That is how MacBook notch panels become useful: not as a novelty around the camera, but as a quiet control surface for the work already on your screen.